First you want to start by gathering your materials that you will need for this costume. I did a google image search of "Gnomeo and Juliet" to see exactly what Juliets costume would need to look like. You will need the following items:
- White under shirt
- Black tank top
- Red skirt
- White apron
- Red gnome hat
- White/Black tights
- Black Shoes
- Gold fabric paint
- Elastic
- Red thread
The first thing I did was to go into my daughters wardrobe and see what items she already had. We already had the white undershirt and black tights..so that was a start. Next thing we did was hit the local Goodwill store. I am not a "Creator" who really likes to buy fabric brand new. These days fabric can cost just as much as it would cost to just go online and buy the costume..so we need to get THRIFTY people.
At Goodwill I was able to find most of what I needed to make this costume. I had to tweak everything but that my friends is the fun part! So without further ado...lets DO!
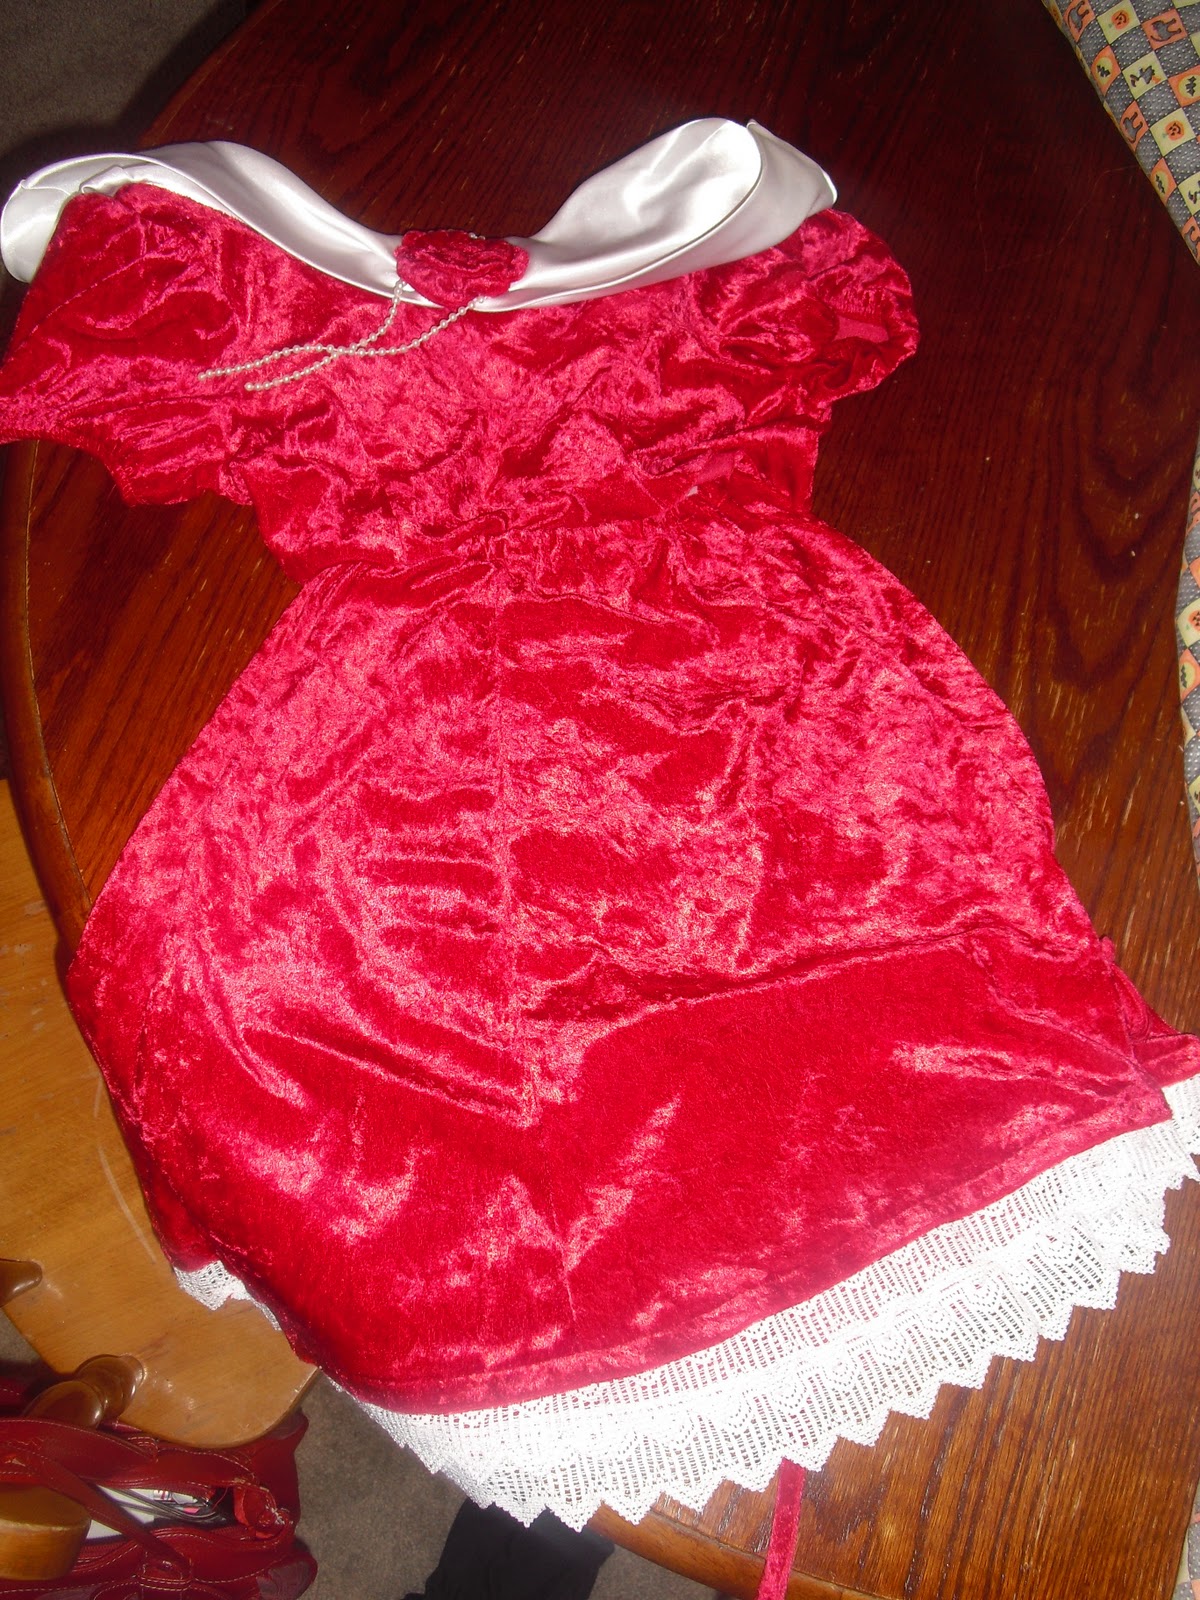
I started with the red skirt. I couldn't find a red skirt at Goodwill, but I was able to find a red dress for $1.99 that I turned into a skirt.
First I decided how long I wanted my skirt to be, our skirt is about 18' long, so I cut the dress at 18 1/2 inches (measuring from the bottom up). After cutting the skirt I created a casing along the top to insert my elastic into. You want to measure your little ones waist to get the length of elastic that you will need. (If this is your first time creating an elastic waistband please follow this link for instructions on how to
http://www.independentliving.org/fashionfreaks/skirts/sssi4.html) Your skirt should look something like this...
Next is the black tank top, we found this one at Goodwill for $1.99 as well.
I used gold glitter puffy paint to add the "corset" type design to the front, and we are ready to move on to our next piece
Now we will start on the gnome hat. First you want to figure out what fabric you will be using. I used some old red scrap nylon type fabric that I had lying around in my sewing room. You can use practically any red fabric you can find..an old red shirt would work just as well..just be careful using knit fabrics if you are a beginner because they are a bit tricky. First you want to measure your little ones head, for my 4 year old I measured that I would need my fabric to be 10 inches wide and 11inches long (measure forehead to chin to get the length and cheek to back of the head to get the width) now cut two pieces of fabric using your measurements.
Remember to add 1/2 inch for the seam allowance.
Now lay your two squares right sides together and cut out the shape of your hat. I already had a gnome hat to use as a guide, if you need to you can draw the shape on a piece of paper then pin the paper to your fabric and cut out the shape of the hat.
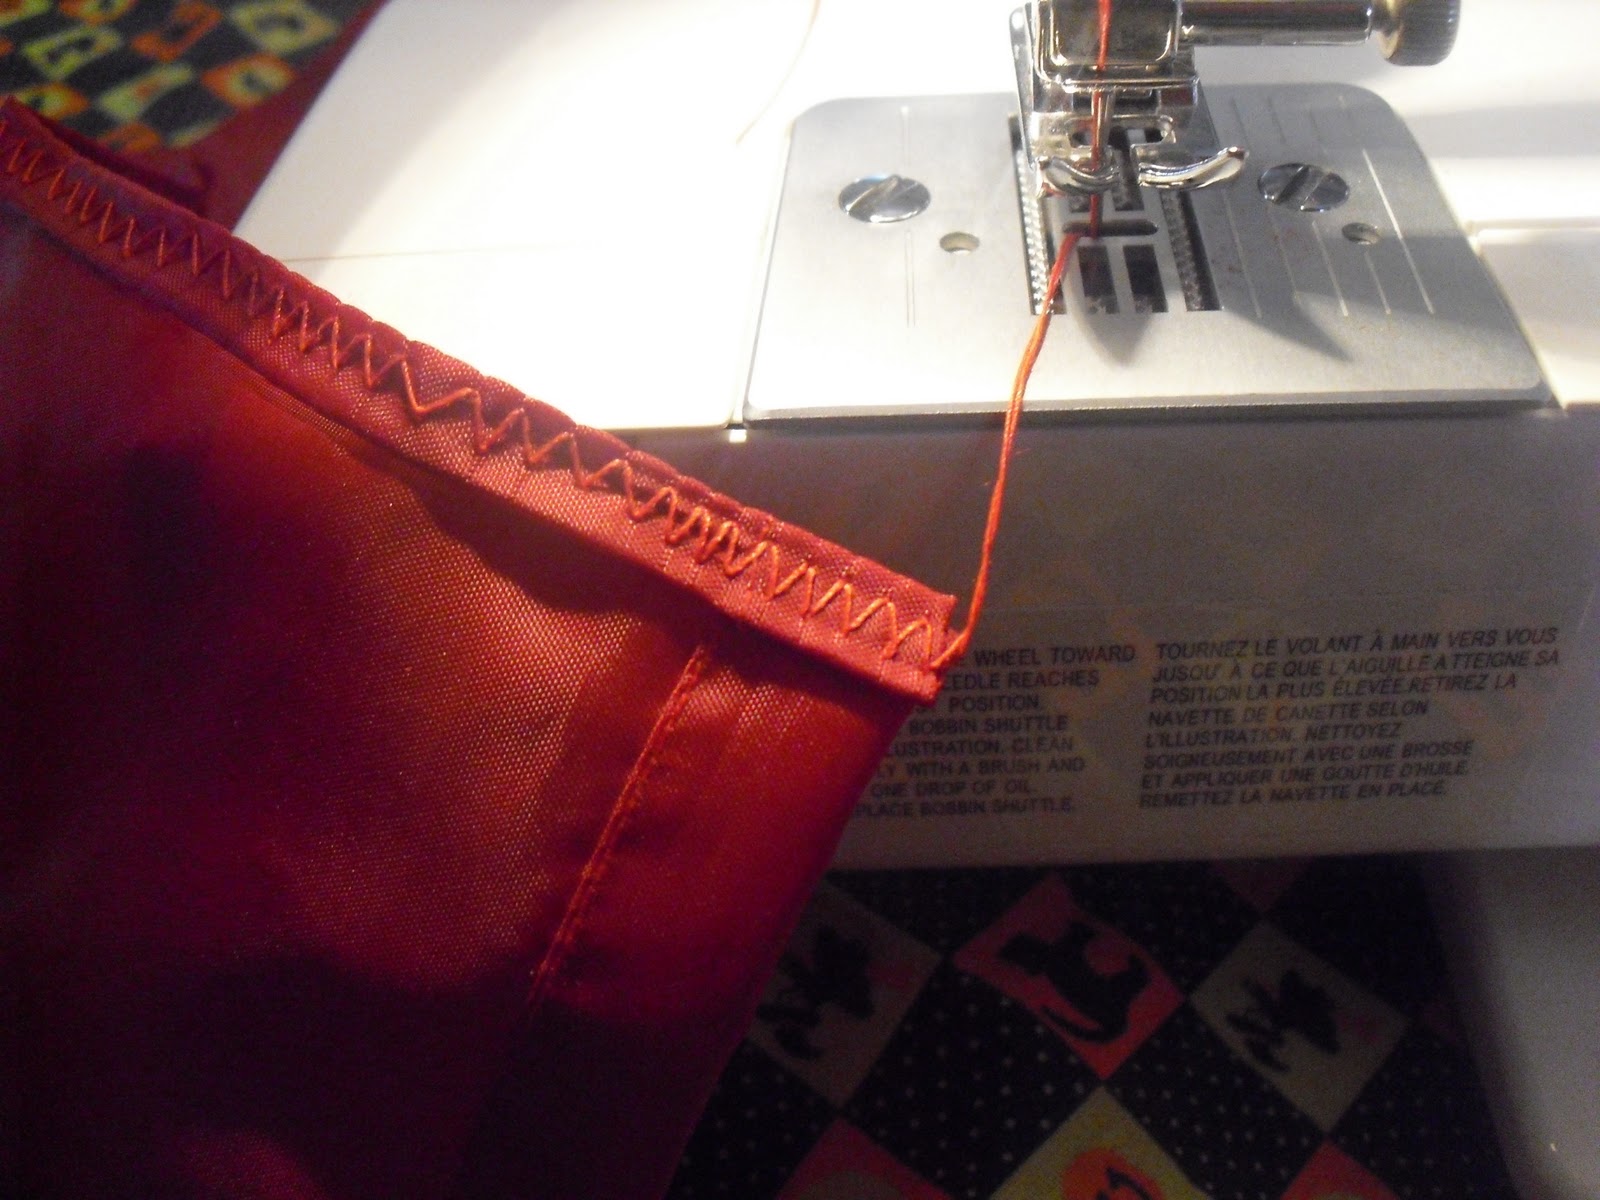
Next you will want to hem the side of the fabric that will be the front of the hat, as well as the bottom of the hat. For mine the front part already has a hem, and I use a zigzag stitch to hem the bottom.
After hemming you want to pin your two pieces of fabric together once again right sides facing each other, then using a zigzag stitch sew your hat together.
Remember not to sew the front together. Now turn your hat right side out and admire your work! (
Note: my hat is a little shorter than yours should be because of a little machine malfunction, but still cute I think) If the top part of your hat doesn't want to stay up just fill it with a little batting, works like a charm.
Last but certainly not least...the apron! I used some white scrap fabric that I had. If you don't have any white scrap you might want to check Goodwill for a white sheet to use for fabric to save some $$$, just remember to give it a good washing of course ;p
So first cut out your pieces. For the apron you will need to cut three pieces. You will need to cut the tie piece. I measured mine at 3 1/2 inches wide and 18 inches long. You will also need to cut out two square pieces. Mine measure 14 inches wide and 16 inches long. Again you can adjust your measurements to your liking.
Now lay the two squares together, right sides in, pin and cut them into a horse shoe shape.
Now fold the long tie piece in half, right sides together and press with iron, pin and sew creating one long tube, then turn your tube right side out. After turning the tube right side out I hemmed each end using a zigzag stitch. Then press the entire piece flat with an iron.
For the next step of the apron sew the big pieces together leaving the top open, then turn right side out and sew a zigzag stitch all the way around the front of the apron. Now using a fabric marker draw on the front lower right hand corner a cursive letter "J"(
this part it optional, but adds a really cute design to the costume)
Now using a zigzag stitch follow your marker line to create the letter "J".
Now fold the top part of the apron down toward the back 1/2 inch and press flat, fold it another 1/2 inch and press flat again
(the fold should be on the back side of the apron). Now line the tie part up on the back of the apron with the top part of the fold you just created, center and pin. Use a zigzag stitch to sew the tie onto the apron.
Now your Juliet Costume is ready! Thank you so much for checking out my blog..this is my first official "how to" I hope you enjoyed it. And please email me if there is something that doesn't make sense and I will be happy to help. Happy Sewing:p


Awesome. Can we see a pic of the finished product?
ReplyDeleteStef you should be able to see the picture now. Thanks for following!
ReplyDelete